How To Use That Reflector And Why :: Renee Bowen Photography Coach
I just purchased a reflector - now what?
People always ask me about my lighting so I wanted to share a little bit about my process ... it's pretty simple!
I use a 40x60 reflector 90% of the time! It's always with me - here's one that like from Amazon:

Neewer 5 in 1 Portable Multi 40"x 60"/100 x 150CM Camera Lighting Reflector/Diffuser Kit with Carrying Case for Photography
I don't buy expensive ones because I like the ease of folding one as opposed to using something like a CA Sunbounce (those are awesome but I don't need all that and if you don't need it, don't buy it!)
My philosophy - in general - is keep it simple. I don't like carrying around lighting; even when I DO use OCF, it's the small Profoto A1X. It's not cheap but it's small and super powerful.
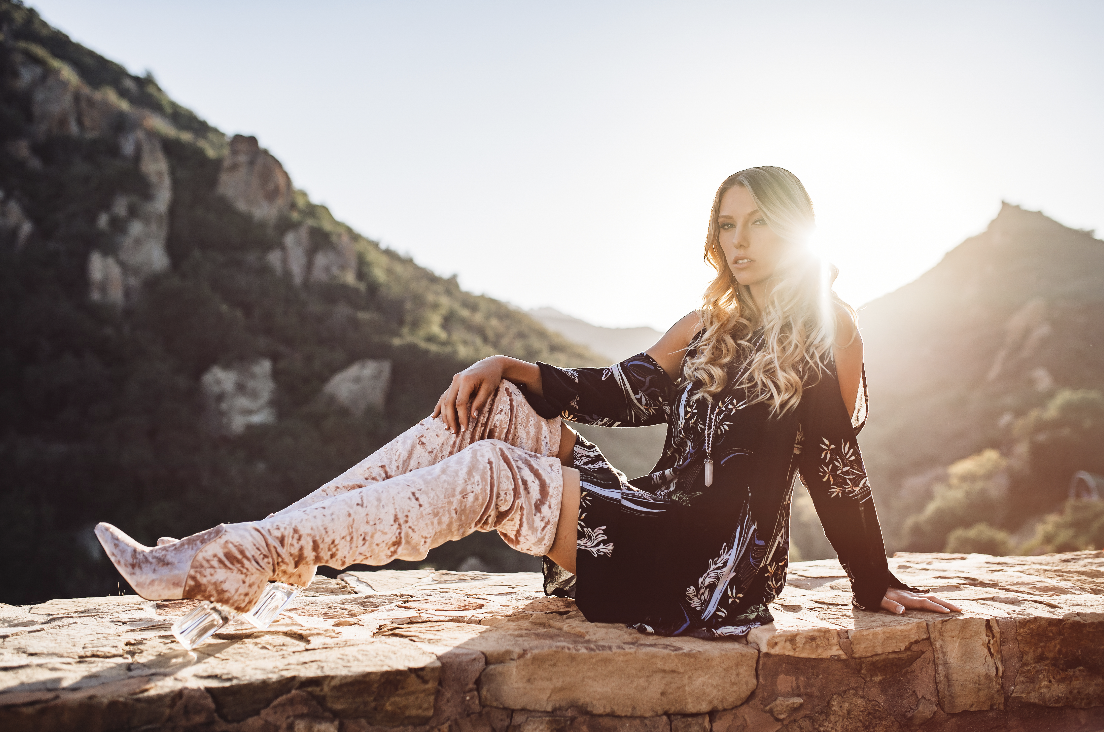
But in general, I will use a giant reflector for 90% of my sessions - only the silver side because I like to retain facial features and not "flat light". We saw a LOT of that in the early 2000's - that super soft flat lighting with super-wide apertures. Don't get me wrong, I love a 2.0 aperture but I also like to see my client's noses 😜
The white side is too soft for me ... even in bright sun.
So how do I not blind my clients? 😂
We don't put it right in front of them usually - I prefer to light from the side and to angle the light for some density. This also helps the client's eyes ... but it's still bright for sure. I prep them ahead of time to make sure they know what's coming and how to handle it.
Here are some tips for using a reflector:
- Have someone else hold it if you can; the large ones ARE big enough for you to handle it alone and I have, but it's FAR easier for someone else to do this, especially for the angle. If I don't have anyone with me, I ask the Moms of my seniors and show them how - they are always willing to help!
- Ask your clients to look down and then find the light - have them open their eyes or lift their eyes once you already have the light where you want it.
- Give them breaks often
- When it's windy, you can use your foot to hold the bottom of the larger ones and then angle it as needed
- Use those angles so you don't get a flat face effect
- You're going to need to shoot with a higher shutter speed if you are still going fairly wide open. I like to keep my aperture to 2.0-2.8, depending on what I'm shooting
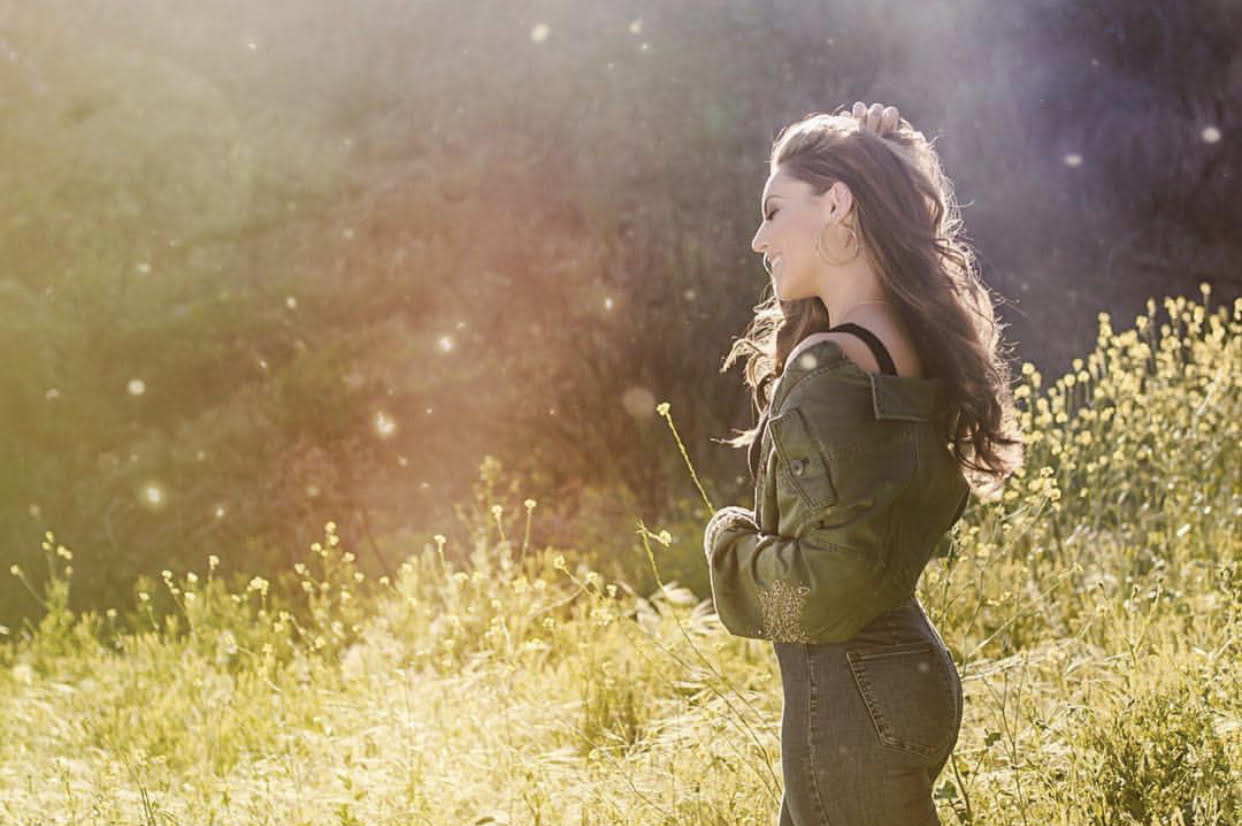
- Don't be afraid of shooting into the sun; an ND filter can help with flares, but I intentionally shoot for flares (just my style; call my JJ Abrams, I don't care 😜)
- Larger reflectors are good because you can light the entire subject; with smaller ones, you run the risk of just lighting the face and then the body looks "dead" 😬
- Be careful using a lot of highlighter for makeup when using a silver reflector because it picks up all of it and your client will look super shiny
- If you're "under" something like a tree and the light is coming in from the side, you can position someone holding the reflector way outside of it and throw the light in (as long as it's bright) - but make sure to keep your client's face toward the light so you don't get weird, downcast shadows

I'm happy to chat with you if you have any questions! Shoot me a FB message or email! Are you in either of my FREE Facebook groups for photographers?
And make sure you check out all the free stuff I created for photographers HERE.
I am super passionate about helping photographers learn how to run businesses that are profitable and don't suck all their time.
Reach out if you are ready to massively uplevel your biz!
Stay connected with news and updates!
Join our mailing list to receive the latest & greatest from Renee. Your information will not be shared.


Get the free guide
As a senior photographer, you need to know ALL about what your Gen Z clients wants - this guide will show you.

FREE video on PRICING
WATCH this free video to learn how to price yourself for high sales

